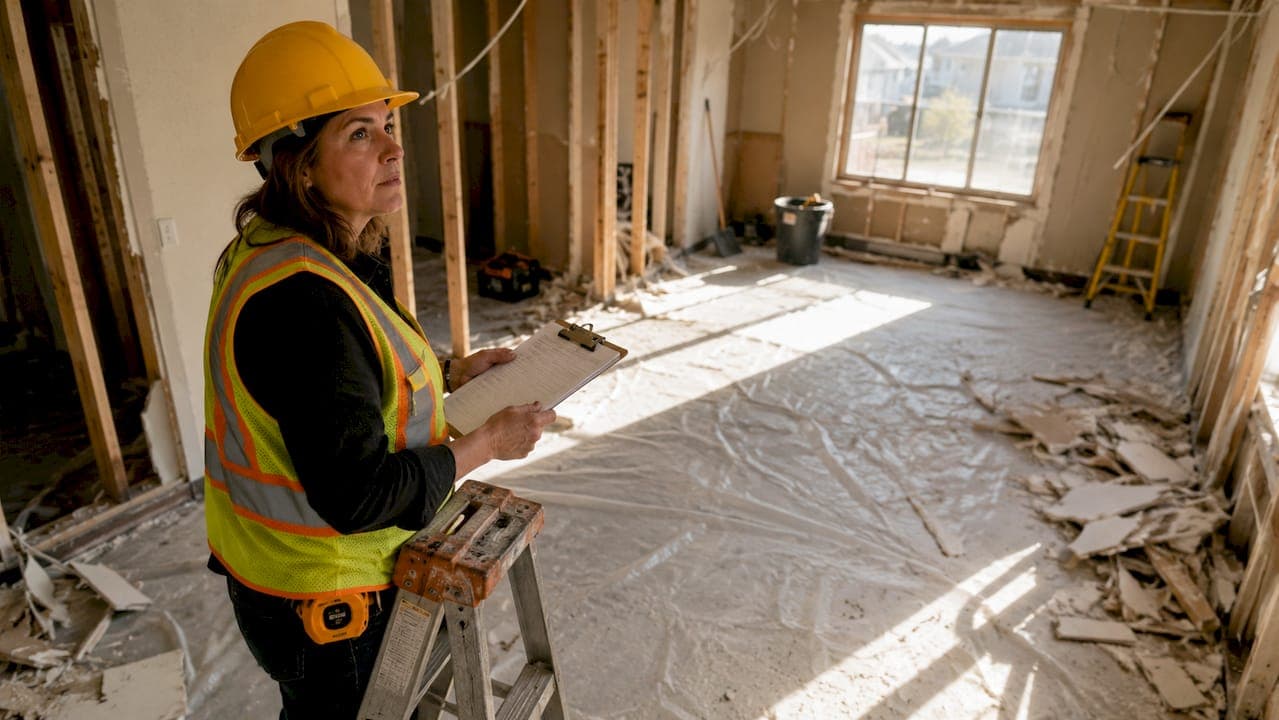
Interior demolition is defined as the selective removal of non-structural interior elements while preserving a building's structural framework and exterior shell. Also called selective demolition in the construction industry, this process targets components like drywall, flooring, cabinetry, fixtures, drop ceilings, and non-load-bearing partitions. It is the foundation of safe, controlled renovation work for homeowners and property managers who want to repurpose or update a space without tearing down the entire structure. Understanding what the interior demolition process involves helps you plan realistically, avoid costly surprises, and protect your property throughout the project.
What are the key stages in the interior demolition process?
Standard interior demolition follows seven stages, from initial site assessment through to final cleanup. Each stage builds on the last, and skipping any one of them creates safety risks or budget overruns.
1. Site assessment and hazard identification
A qualified contractor walks the entire space before any work begins. They look for asbestos, lead paint, mould, and other hazardous materials that require certified removal before general demolition can start. Older Ottawa homes built before 1990 are especially likely to contain asbestos in floor tiles, pipe insulation, or drywall compound. Hmjcontracting conducts thorough hazard assessments as part of every project intake.
2. Permits and approvals
Most municipalities require a demolition permit before interior work begins, even for selective removals. Your contractor pulls the permit and confirms the scope of work complies with local building codes. Skipping this step can void your home insurance and create problems when you sell.
3. Protection measures
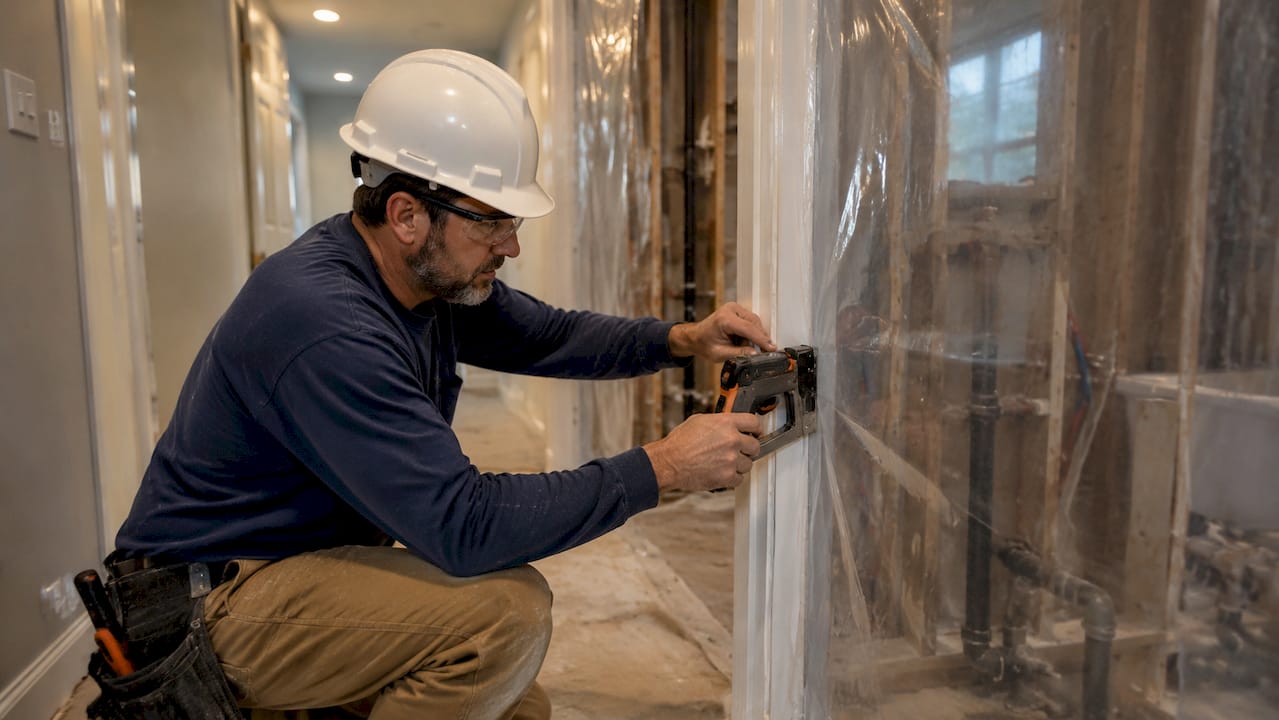
Dust barriers, plastic sheeting, and temporary walls isolate the work zone from occupied or finished areas. Floor protection goes down over any surfaces that will be kept. These containment measures are standard practice for professional interior demolition and are not optional extras.
4. Utility disconnection and capping
Electrical circuits, plumbing lines, and gas supplies serving the demolition zone must be isolated and capped before any removal begins. Utility isolation including electrical tagging and water line capping prevents accidental damage to live services hidden behind walls. Damaging a concealed cable or water line mid-project causes costly delays and potential safety hazards.
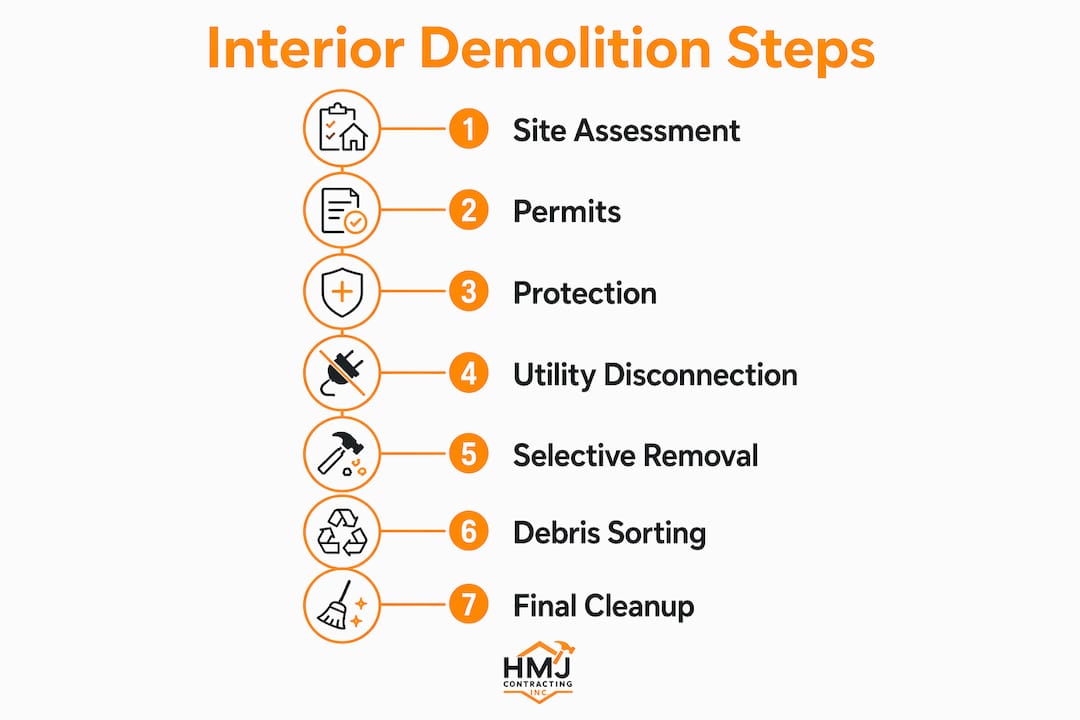
5. Selective removal
Workers remove the targeted materials in a deliberate sequence, typically starting from the top of the space and working down. Ceilings come first, then walls, then flooring. This order controls debris fall and protects surfaces below.
6. Debris sorting and waste management
Debris gets sorted on site into categories: recyclable materials, hazardous waste, and general landfill. A 10,000-square-foot commercial space can generate 180–220 cubic yards of waste, a volume that surprises many property managers. Advance logistics planning for bin placement and haul-away schedules prevents the project from stalling.
7. Final cleanup and site preparation
The space gets swept, vacuumed with HEPA equipment, and inspected before handoff to the renovation crew. A clean, clear site speeds up the rebuild phase and reduces the risk of debris-related injuries.
Pro Tip: Request a written scope of work that lists every item to be removed before signing any contract. Verbal agreements about what stays and what goes are the single biggest source of disputes on demolition projects.
What interior demolition techniques and tools are used?
The right technique depends on the material being removed, the space available, and what needs to be preserved nearby.
- Hand tools such as pry bars, reciprocating saws, and oscillating multi-tools are used for precise, controlled removal around areas that must stay intact. They are the first choice near load-bearing walls, plumbing rough-ins, and electrical panels.
- Power tools including rotary hammers and angle grinders speed up removal of tile, concrete board, and masonry partitions where precision is less critical.
- Compact and robotic demolition equipment handles work in tight or low-clearance spaces. Robotic demolition equipment is essential for safe access in confined areas inaccessible to conventional machinery, such as basement mechanical rooms or occupied urban buildings.
- Dust suppression methods include water misting, negative air pressure machines, and sealed dust barriers. These protect both workers and building occupants from fine particulate matter.
- Hazardous material removal techniques follow strict protocols set by Transport Canada and provincial environmental regulations. Asbestos abatement, for example, requires full containment, respirator use, and certified disposal at an approved facility.
Pro Tip: If you are planning a room-by-room renovation, ask your contractor to sequence demolition so that one area is fully cleared and cleaned before the next begins. This keeps the project moving and limits disruption to the rest of the home.
Selective demolition is the technique that defines the entire discipline. Selective demolition allows renovations to proceed while preserving mechanical and structural systems, which minimises downtime and keeps the building functional during phased work.
How to manage safety and compliance during interior demolition?
Safety in interior demolition is not a checklist item you complete once. It is an active, daily practice throughout the project.
- Hazardous material audit: Conduct a full audit for asbestos, lead paint, and mould before any removal begins. Failing to isolate utilities or identify hazards causes site dangers and budget overruns. In Ottawa, homes built before 1980 carry a high probability of containing at least one regulated material.
- Utility isolation: Every electrical circuit, gas line, and water supply in the demolition zone must be confirmed off and tagged before work starts. Do not rely on a breaker label alone. Have a licensed electrician verify the circuit is dead.
- Structural verification: Confirm which walls are load-bearing before any removal. Removing a load-bearing stud by mistake can compromise the entire floor above.
- Site containment and dust control: Dust barriers and containment are standard procedures to protect occupants and the site. Daily cleanup prevents dust accumulation that can become a respiratory hazard and a fire risk.
- Qualified specialists: Hazardous material removal requires licensed abatement contractors, not general labourers. Using unqualified workers for asbestos or lead removal violates federal and provincial regulations and exposes you to significant liability.
- Permits and building code compliance: Pull the correct permits before work begins. Building inspectors can shut down a project and levy fines if unpermitted demolition is discovered.
"Interior demolition is not a simple strip-and-go task. It requires adherence to safety protocols, daily cleaning, and dust barrier installation, especially in occupied buildings. Thorough pre-project assessment and hazard identification are what separate a successful project from a costly, dangerous one."
Why choose interior demolition over full demolition for renovations?
Interior demolition is generally more cost-effective than full demolition because it requires less equipment, generates less waste, and allows the rebuild to begin sooner. For most residential renovations and commercial fit-outs, tearing down the entire structure makes no practical sense.
| Factor | Interior (selective) demolition | Full structure demolition |
|---|---|---|
| Cost | Lower. Targeted removals reduce labour and disposal fees. | Higher. Entire structure must be cleared and rebuilt from grade. |
| Project timeline | Faster. Rebuild can begin in phases while demolition continues. | Longer. Full rebuild required before any interior work starts. |
| Material preservation | High. Usable framing, MEP systems, and finishes can be kept. | None. All materials are removed and disposed of. |
| Waste generated | Lower volume. Only removed elements go to disposal. | Very high. Entire building contents and structure are demolished. |
| Applicability | Residential renovations, commercial fit-outs, space repurposing. | End-of-life structures, major redevelopment sites. |
Selective demolition is often the smartest approach for phased renovations because it keeps key systems functional throughout the project. A homeowner updating a kitchen, for example, can keep the rest of the house fully liveable while demolition and rebuild happen in one contained zone. For property managers overseeing multi-unit buildings, this approach means fewer vacant units and less lost rental income during renovations. The environmental case is also strong. Keeping usable structural elements and mechanical systems out of the landfill reduces the overall material footprint of the project.
Key takeaways
Interior demolition is the most cost-effective, safe, and practical method for renovating or repurposing a space without compromising the building's structural integrity.
| Point | Details |
|---|---|
| Definition matters | Interior demolition targets non-structural elements only, preserving the building's framework throughout. |
| Seven-stage process | Every project follows a sequence from hazard assessment and permits through to final cleanup. |
| Safety is non-negotiable | Hazardous material audits, utility isolation, and daily dust control are required on every project. |
| Selective techniques save money | Targeted removal reduces labour, waste disposal costs, and overall project timelines. |
| Qualified contractors are critical | Licensed specialists for abatement and demolition protect you from legal liability and safety risks. |
What I have learned from years of interior demolition projects
The single biggest mistake I see homeowners and property managers make is treating demolition as the easy part of a renovation. They spend weeks planning the new kitchen layout or the updated bathroom finishes, then hand the demolition off without the same level of scrutiny. That is where projects go sideways.
Thorough pre-project inspection is what separates a smooth renovation from a three-week delay and an unexpected $8,000 asbestos abatement bill. Every older property I have worked on in Ottawa has had at least one surprise behind the walls. The ones that go well are the ones where we looked for those surprises before swinging a single pry bar.
The other thing I would tell any homeowner is to coordinate your demolition and renovation timelines carefully. A cleared site sitting idle for two weeks because the renovation crew is not ready costs you money and exposes the open structure to moisture and dust. Get your contractor and your renovation team talking to each other before the project starts, not after.
Careful, planned demolition also preserves property value in ways that rushed work does not. A space that is cleanly stripped, properly contained, and handed over ready for rebuild gives your renovation crew the best possible starting point. That shows up in the quality of the finished product.
— Jason
Hmjcontracting: professional interior demolition in Ottawa
Hmjcontracting brings certified expertise to every stage of the interior demolition process, from hazardous material assessment through to final site cleanup. Whether you are gutting a kitchen, repurposing a basement, or managing a multi-unit renovation, the team handles abatement services for asbestos, lead, and mould alongside full interior demolition work.

Every project starts with a detailed, itemised quote so you know exactly what is being removed and what it costs. Hmjcontracting holds a perfect 5.0-star Google rating built on hundreds of completed projects across Ottawa. Contact the team to book a site assessment and get your renovation started on solid footing.
FAQ
What does interior demolition include?
Interior demolition includes the removal of non-structural elements such as drywall, flooring, cabinetry, drop ceilings, fixtures, and non-load-bearing partitions, while preserving the building's structural framework.
How long does an interior demolition project take?
Project duration depends on the size and complexity of the space. A single-room residential demolition typically takes one to three days, while larger commercial fit-outs can take one to two weeks.
Do I need a permit for interior demolition in Ottawa?
Most interior demolition work in Ottawa requires a building permit, particularly when removing walls, altering mechanical systems, or working with hazardous materials. Your contractor should pull the permit before work begins.
What hazardous materials are commonly found during interior demolition?
Asbestos, lead paint, and mould are the most common hazardous materials encountered, particularly in homes and buildings constructed before 1990. A certified hazardous material audit is required before demolition begins.
How much does interior demolition cost?
Cost varies based on the scope of removal, the presence of hazardous materials, and the size of the space. Selective demolition costs less than full demolition because it requires less equipment and generates less waste.